Free Printable Thank You Cards
Print Your Own DIY Thank You Notes With Matching Envelopes
Whether you’re saying thanks for the great birthday gift you received, or “thanks for coming to my party!”, our free printable thank you cards are sure to be a fun way to show your gratitude!
We’ve got cute as can be printable cards for just about everyone. And if you don’t see what you’re looking for, don’t fret! We will be adding new printables on an ongoing basis!
Not only can you print your own thank you notes, but we also having free matching printable envelopes. They’re just the perfect size to fit your new DIY Thank you’s!

A Lil’ Something For Everyone

So cute and whimsical! This snail and mushroom card is perfect for pretty much any sentiment. I envision this as a great “Thanks” for a kids birthday or for that thoughtful baby gift your friend gave you the other day.

I love this vintage inspired fruit orchard thank you card! This note is perfect for anything from saying thanks for that great gift, to “thanks for being my friend”.

This is a perfect all purpose thank you card. You could use this for any occasion or sentiment. From birthdays, to weddings, baby showers, and beyond!
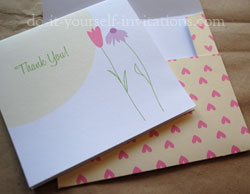
So pretty! This hand drawn flower thank you note is great for a little girl’s party “thank you”, baby shower or baby gift “thanks”.

This is one of my absolute favorite’s! Really you could use this thank you card for anything, but I envision it for a family get-together, or any other sort of “adult” party.

So pretty and modern – these rose thank you cards and envelopes are the perfect solution to thanking your guests at a bridal shower or even as a wedding gift thank you.
Tips To Create Our Free Printable Thank You Cards And Envelopes
Making your own DIY Thank YOu cards using our printable PDF’s is actually really easy. Hopefully you will even find it to be really fun!
1. Start by printing the free printable thank you cards and envelopes onto some heavy white paper or cardstock.
2. Score the Thank You Cards across where the mark indicates.

I find it easiest to hold a ruler against a grid like on your paper cutter or a cutting mat. You can use a bone folder to score them pretty easily. A scoring mat will work very well too.
3. Trim the cards from the paper using our easy cutting guidelines.

4. Fold the cards across the scoring lines. I find it makes a nicer crease to go back over the fold with a bone folder.
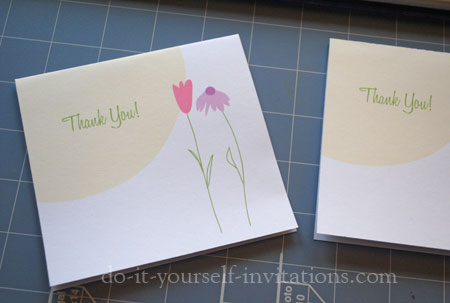
5. Next trim all of the flat edges of the envelopes omitting the short edges of the flap.

Go back over the shorter edges with a pair of craft scissors.

6. Score the side flaps as well as the top and bottom flaps of the envelope.


7. Fold all of the scored edges and apply some adhesive to the outer edges of the bottom flap. Fold the bottom flap upwards to meet the left and right flaps, sandwiching them within the envelope.

8. Admire your work!
