|
|
|||||
DIY Destination Wedding Invitations:
|
||||||
Make Your Own Passport Wedding Invitations
What You'll Need:- plain white 8.5 x 11 cardstock
- decorative or handmade paper
- ribbon, cording, or twine
- your computer printer and PDF reader
Start by downloading and printing our passport destination wedding invitations template.
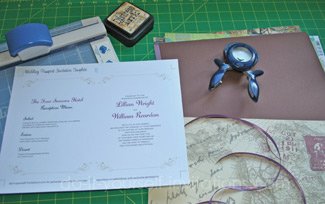 You will need the latest version of Adobe Reader to view and interact with the template. Don't worry - Adobe Reader is available by free download on the internet if you happen to not have it installed.
Save a copy of the file to your computer in a spot that you will remember to find it later should you need to print more or make any changes.
Remember, the interactive templates will only work with the fonts you currently have installed on your computer. So if you open the file and it looks a bit funny, it may just mean that you do not have the same fonts I used to create the file.
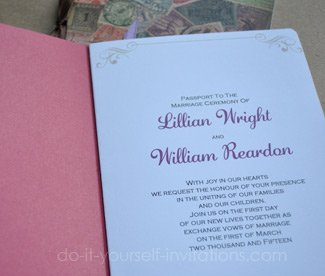 A great source for finding pretty, unique, and cool free fonts is Dafont.com and 1001freefonts.com. But just and FYI - the fonts I used as shown in the pictures are Copperplate Gothic Light and Adage Script.
Print the file onto some 8.5 by 11 white or cream colored cardstock. The file is meant to be printed back to back. You can keep the file as a simple 4 page booklet or go all out and save a second copy of the file (change the name) to print two pages!
Use the handy guidelines included in the template to cut the invites down to create a 5 by 7 passport (booklet) invitation. For the very best results I recommend stacking the invitation papers with the decorative paper when cutting so that both papers will come out exactly the same size. Otherwise you will end up trimming the edges to get everything to line up perfect and it can get really messy!
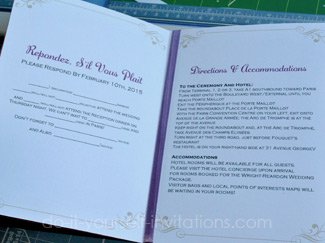 Either fold the papers in half to form a little passport booklet, or depending on the paper you may also want to score before folding. I find an easy way to do it is to simply fold the papers together and then go over the crease with a bone folder to smooth it out.
For a nice finished touch you can go a bit further and use a paper punch to create rounded corners. I used a corner rounder from Fiskars.
To finish off the passport destination wedding invitations simply open up the booklets all the way and tie the binding with a bit of ribbon, tying a bow on the outside cover spine. I like to dab on a little bit of permanent adhesive glue runner right where the bow will sit to hold things tightly in place.
You're done! What you've created is a very simple yet elegant wedding invitation that is relatively easy to make!
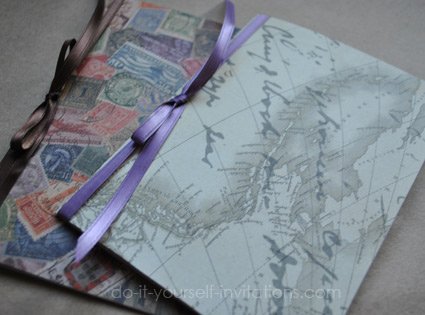
More Tips For Making DIY Passport Destination Wedding Invitations
- For a great faux vintage touch for any destination wedding invitations is to use some distressing ink to make the pages look old and faded. The best way to add a little bit of distressing ink to a page is to use a makeup sponge. Press the sponge lightly into the ink and then squish it into the sponge by folding it in half. Lightly apply the ink to the edges of the pages and working over the surface and edges.
- Add some stamped images to match your theme! Having a tropical island wedding? How about some stamped images of palm trees and nautical images to add a personal touch? You can even use some distressing ink to stamp the images and smudge them a bit to add to the vintage feel! Wedding in Paris? Use an Eiffel Tower stamp! You get the picture...
Do It Yourself Invitations Homepage > Make Your Own Wedding Invitations > destination wedding invitations
The DIYI Ezine
Printable Invitations | Bridal Shower | Blog | Contact | Advertising Policy | Privacy Policy
By Chris Fleckenstein, Copyright © 2006-2013 Do-it-yourself-invitations.com
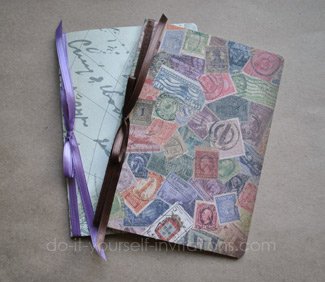 Use our free template to create unique destination wedding invitations that are versatile enough to use for a wedding at pretty much any destination. Whether your nuptials will take place on a sandy beach or a European castle, these invites can be perfectly customized with your own personal touches!
