|
|
|||
|
DIY Pochette Invitations Template
|
||||
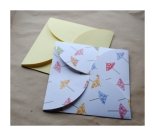
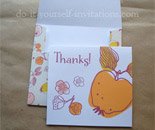
I created this DIY template to make your own pouch petal fold invitations that pretty much anyone can use. Actually I am adding TWO templates. The first is a printable PDF. Use it to print onto your own paper and cut the pockets out with some good sharp scissors. If you cut them out carefully they will come out looking perfect.
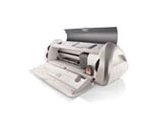
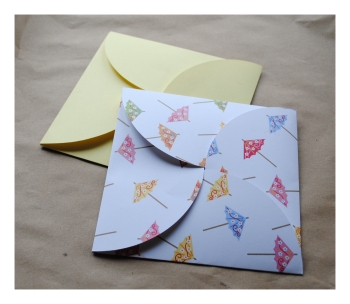 The second of these templates is for use with a personal die cutting machine. In order to use the template you may want to consider Sure Cuts A Lot software as well. Sure Cuts Alot is what allows you to send files from your computer to your Electronic Die Cutter, as well as download any font you can find online. Using my template you can cut perfect pochettes in any paper you see fit. An added bonus? You can resize the template in SCAL and make mini pochettes as well!
Both of these templates are available for free, but on a sort of honor system/donation basis. If you want to use the templates (for personal use only - commercial use is prohibited) please consider paying it forward by leaving a donation towards keeping the site running.
How To Use The Templates
Using the printable template is easy as pie, really. The template is delivered as a PDF file. You will need Adobe reader or an equivalent to open and print the file.
- 1. Download the Printable PDF Pochette Template
- 2. Save the file to your computer.
- 3. Print the template onto a paper of your choice! Cardstock, decorative scrapbook paper, or even printable vellum!
- 4. Use the template to cut the petal fold pocket out from the paper.
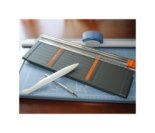
Here's a handy tip: Cutting a template like this, with such rounded edges, can be a challenge. How to get those corners perfectly rounded? Here's a great way to make it just that much easier. Use a rotary cutter! This is a cutting tool that actually has a wheel for a blade so it cuts the paper continuously and smoothly.
First things first, using Sure Cuts A Lot software makes suing this SVG super easy to work with your personal die cutting machine.
- 1. Download the SVG file and save to your computer.
- 2. Plug in your Cricut machine to the USB port on your computer and turn it on (must have a cartridge in place to work).
- 3. Open Sure Cuts A Lot of Craftedge on your computer and open the SVG file to the software.
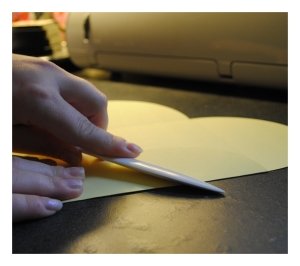
- 4. Place your chosen paper onto the cutting mat and smooth it down to make sure it is sufficiently stuck down to the mat. I actually go over the edges with my bone folder to make sure the edges are smooth.
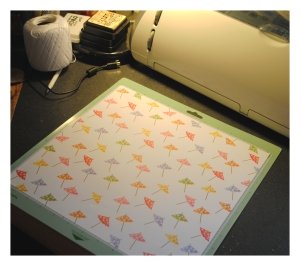
- 4. Load your paper and mat and into your cutting machine.
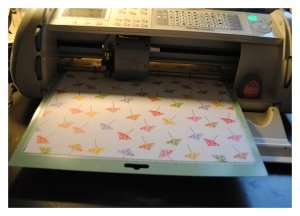
- 5. Resize the petal fold pocket shape to fit the size invitations you wish to create, double check your mat size is correct, and then press "cut".
- 6. Remove the paper from your cutting mat (repeat the process to create the invitations in quantity).
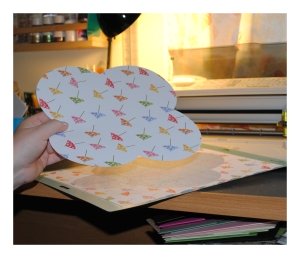
To Create The Pochette
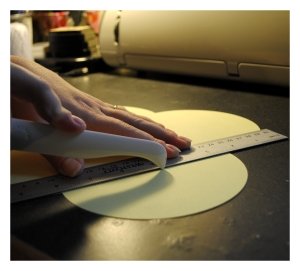
- 1. Score the invitations at the ends of the flaps for a crisp clean fold. Use a ruler to line up the edges where the flaps fold inward. Use a scoring tool such as a bone folder to create a scoring mark.
- 2. Remove the paper from your cutting mat (repeat the process to create the invitations in quantity).
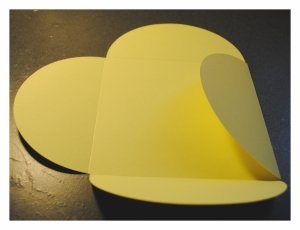
- 3. Working clockwise fold in the flaps by overlapping them. When you get to the fourth and final flap, fold it over and tuck the opposite edge under.
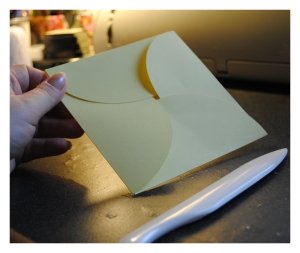
DIYI Homepage > Make Your Own Invitations > DIY Pochette Templates
Popular DIY Tutorials
Destination Passport Wedding Invitations

Printable Owl Invites
DIY Tea Party Invitations
The DIYI Ezine
Printable Invitations | Bridal Shower | Blog | Contact | Advertising Policy | Privacy Policy
By Chris Fleckenstein, Copyright © 2006-2013 Do-it-yourself-invitations.com
