|
|
|||||
|
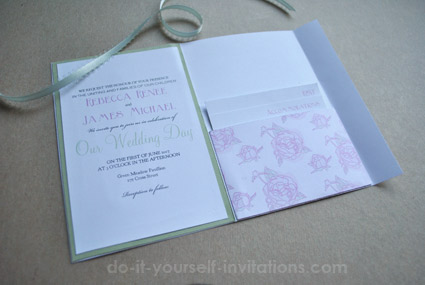
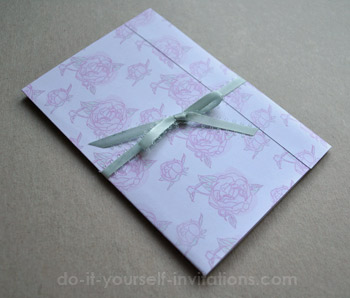
Print And Make Your Own Pocket Wedding InvitationsThis particular template was created with a cute vintage style pattern featuring pretty pink peonies. Perfect for a spring or summer wedding! This is a really easy to make project. You just need a few a tools - a paper cutter, some glue, maybe a bone folder for precision scoring and folding. But those are relatively cheap to purchase (or borrow from one of your super crafty friends. Everyone has at least one of those, right?). OK so on to the gritty details...
How To Make The Peony Pocket Wedding Invitations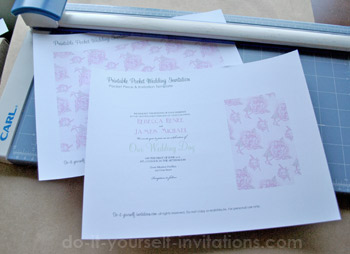 The first thing you need to do is download the peony pocket template. The first thing you need to do is download the peony pocket template.
The template has an invitation insert you can use to format your wording and print it to fit into the pocket. The finished pocket is 4 by 6 inches when folded. Start by changing the wording in the template to personalize your invites, or simply delete the inputed text and start from scratch. To change the fonts, font size and color press the Control button and the letter E at the same time (Command and E for Mac users). A typing tool palette will pop up to help you make all of the necessary changes. Once you're done playing with the wording and text print the entire file onto some heavy weight card stock paper. I recommend using your printer's highest quality settings for the best results. Print a sample or two until it looks just how you want it to.
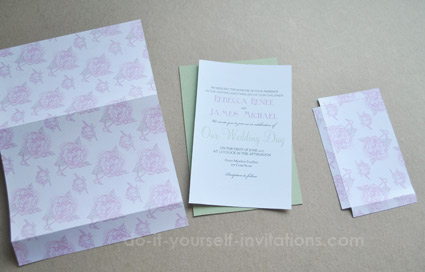
You may want to score the paper where it will fold before cutting. After cutting the folding guidelines will be invisible. But if you forget no biggie, just measure over 4 inches and score at about 4 and 1/8" and then again 4 1/8" from the first line. I use a bone folder to do all of my scoring. They are such a great, invaluable little tool when working with paper. To give the pocket more of a polished look I also cut a piece of coordinating colored cardstock to fit on the inner side of the pocket. I cut this piece to 4 by 6 inches. I then trimmed my wording/text insert to 3.75 by 5.75 inches. Attach the wording insert to the cardstock, and the cardstock to the inner left side of the pocket folder.
Fold the pocket shut and tie a nice ribbon around it and you're done! Neato! You just made a seriously inexpensive and cute pocket wedding invitation! You can even choose to make these a simple seal and send invite! Glue the little flap shut and slap on some fancy pants mailing labels and they are ready to send! Enjoy!
|
The DIYI Ezine
Stay up to date with the newest tutorials, free printables and giveaways!
|
|||||
|
|
||||||
|
| Homepage | Shop | Wedding Invitations | Birthday Invitations | Baby Shower Invitations | Printable Invitations | Bridal Shower | Blog | Contact | Advertising Policy | Privacy Policy
By Chris Fleckenstein, Copyright © 2006-2013 Do-it-yourself-invitations.com |
||||||
 Time to get out your paper trimmer!
 Score and fold the pocket piece and use some quick drying adhesive or permanent glue runner to affix the pocket onto the folder. Now all you have to do is pop in some inserts (rsvp, menus, accommodations info, etc) into the pocket!
