|
|
|||
|
Make Your Own DIY Ladybug Party Invitations
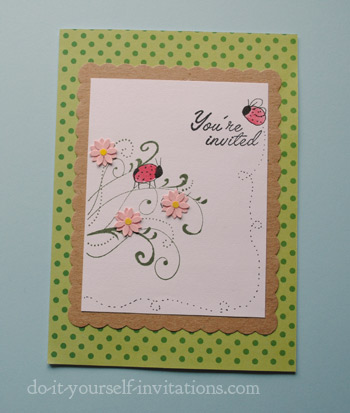
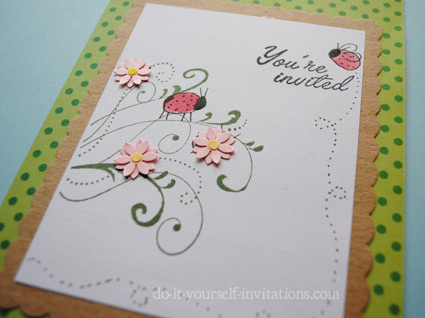
These ladybug party invitations were a blast to make! They are a combined effort between me and my four year old daughter. She made the "ladybugs". Well, she helped by providing her little fingerprints. You see, these little lovely ladybugs are actually made up by my daughter leaving her fingerprints on the paper using red stamping ink. I filled in the rest of the details (spots, legs, antennas...) by hand using a black pen. They came out so very cute. And my daughter is very, very proud of them! |
||||
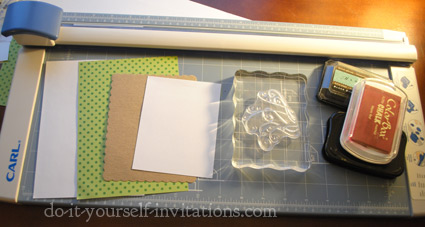
Supplies Needed For Ladybug Party Invitations:
- 8 1/2" by 11" white cardstock or blank cards
- A2 scalloped edge cards
- decorative pattern paper
- flourish/branches stamp or graphic
- red and green stamping ink
- flower punch
- 1/8" paper punch or rhinestones
- fine tip black marker
- adhesive/glue
How To Make LadyBug Party Invitations
Step One: Blank Card Or Create A Card?To start you need to figure out if you want to use a blank card for the base of this invitation, or create your own card from scratch. Creating a handmade card from some simple cardstock is relatively easy.
The pro's of using a blank card set is that they generally come with envelopes. If you choose blank cards you can start off easy, and then end by creating matching envelope liners and hand stamping the outside of teh envelope for a complete matching stationery set.
To create a card from scratch start with a plain sheet of 8 1/2" by 11" white (colored is fine too if it suits you) cardstock. My fave is 110 lb. coverstock.
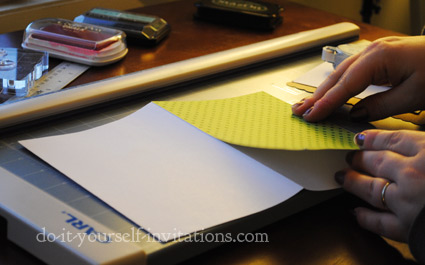
First cut the paper in half to create two pieces measuring 8 1/2" by 5 1/2". Use a bone folder or scoring tool to score the paper in the middle where the paper will fold. Fold on the crease where you scored the paper.
Step Two: Cutting All The Paper To Size
You'll need to cut all of the different papers for this project to their correct size in order to assemble the invitation. Start by cutting the decorative pattern paper to the same exact measurements as the card.
Next measure the A2 scallop edge card and cut some white cardstock 1/2" smaller all around. If you can not get your hands on the scallop edge cards (I got mine at Staples) then you can create them yourself by cutting some colored cardstock down to a size about 1" smaller than your card. Then go over the edges with a scallop paper edger.
Step Three: Assemble The Invitations
Start by attaching the decorative pattern paper to the front of the card. Apply some adhesive to the back of teh paper. I like to use permanent adhesive glue runner. Works like a charm! Flip the paper over and attach it in place.
Next repeat the above steps for the rest of the papers. Apply some adhesive to the back of the rectangular white cardstock, and attach it to the scallop edge card. Center the paper as best as you possibly can.
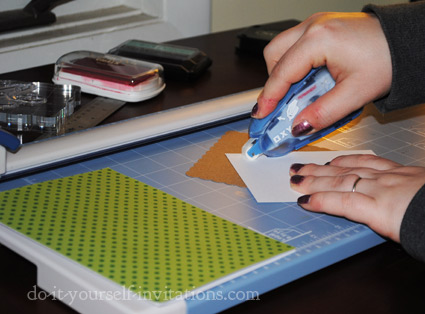
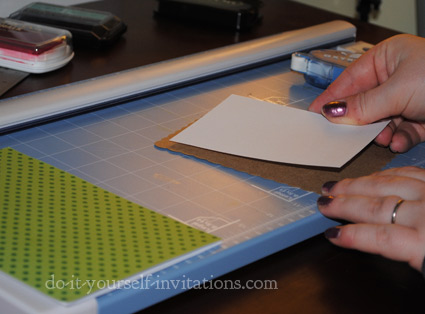
Now apply some adhesive to the scallop cards and attach that to the card.
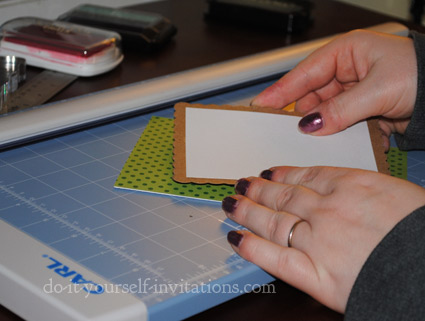
Step Four: Rubber Stamping Accents
Now to add some rubber stamping accents. I used a simple flourish stamp I had on hand. The stamp is by Autumn Leaves and it is a clear stamp called "Swirls V: I" by Rhonda Farrer. To use a clear stamp you will also need a clear acrylic stamping block. But you do not absolutely need to use clear stamps, or even the stamp I used here. Any stamp will do that simulates flourishes, leaves, or branches. Pretty much any kind of image that a "ladybug" may cling to.
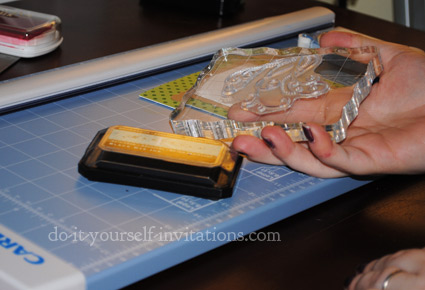
I attached the stamp to an acrylic block and used a olive green stamping ink to apply it to the front of the invite limiting the image only to the white cardstock. You can also choose to attach the white paper as a last step so that you do not have to worry about stamping off of the edge.
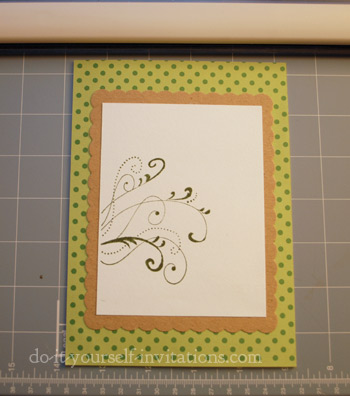
Step Five: Adding the little ladybug fingerprints
Well to make these cards into ladybug party invitations, we gotta add the ladybugs, right? Hopefully you have got a little kid stashed somewhere to help you make the fingerprints. But if you don't happen to have one on hand you can always use your own. :-)
This is the fun part! Use some red stamping ink and place some fingerprints randomly on the stamped image and wherever else seems nice.
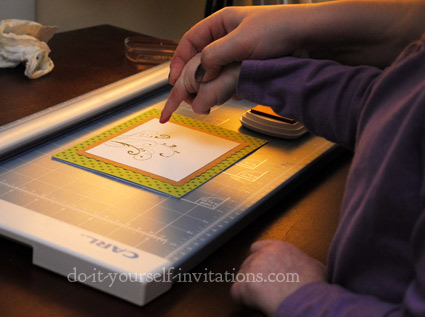
Use a fine line black pen or marker to draw the outline of the ladybug, add some spots, legs, antennas, and wings if the bug needs to look like it is flying, such as the one on my card. I intended to keep them on the "leaves/branches" but my daughter had a mind of her own on that one. And it worked out quite nicely!
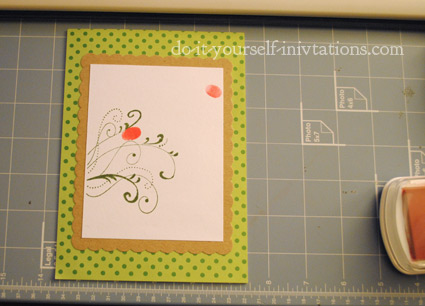
And since it did work out unexpected it inspired me to hand draw in the swirly dotted lines to show the lady bug's flight pattern!
Step Six: Paper Flower Accents
I made the flowers for the front of the card using a flower paper punch. I layered together two flowers punched from pink shimmery cardstock. I glued them together with the tiniest drop of craft glue and then applied the same glue to the back to stick to the card.
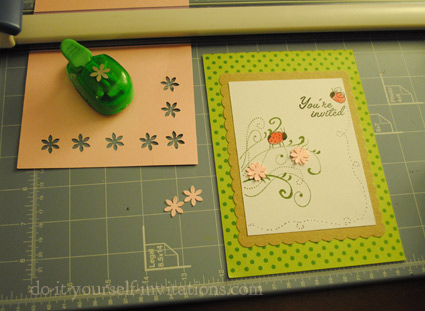
I also added some tiny circles to the middle of the flowers by punching out paper with an 1/8" punch. You could use rhinestones in lie of paper punched circles. You can even buy sticky rhinestones at the craft store that are pretty inexpensive.
Do It Yourself Invitations Homepage > Make Your Own Birthday Invitations > Ladybug Party Invitations
The DIYI Ezine
Printable Invitations | Bridal Shower | Blog | Contact | Advertising Policy | Privacy Policy
By Chris Fleckenstein, Copyright © 2006-2013 Do-it-yourself-invitations.com
