|
|
|||||
Make Your Own Black and White Wedding Invitations |
||||||
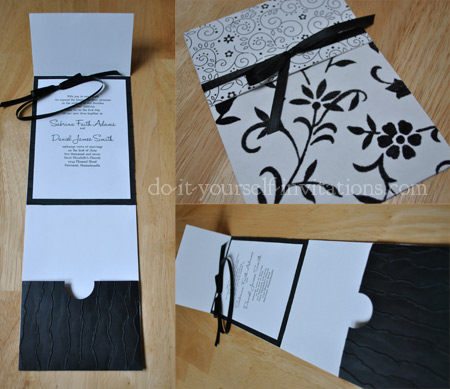
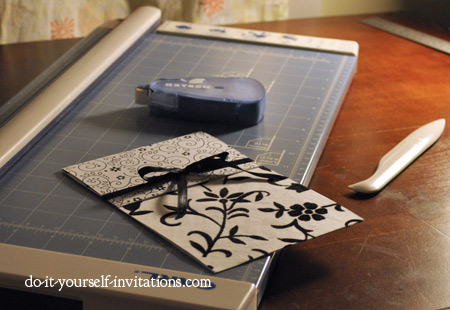
I created this particular invitation as a pocket invite, but you could very easily forgo the pocket detail, and still maintain their rich elegant feel. I simply liked the look of the pocket and how it tied in some of the papers.
These invites start with a handmade folded (variation on the gatefold) card I created using some heavy 11 by 17 cardstock. The base of the invite is pretty easy to make using a ruler, grid, and bone folder combo of tools. I use the grid on my paper cutter and it works like magic in helping me keep my scoring lines straight.
Pair the homemade cards with some black and white decorative pattern paper and a little detail and you'll have yourself a gorgeous handmade invitation that only you will know was handmade (and cheap!).
Supplies Used:
OPTIONAL:
DIY Black And White Wedding Invitations
1. Start by creating your pockets. You will need an extra large paper cutter to cut the paper yourself. If you are not in the market to by a paper cutter that will cut 11 by 17 paper then I would recommend having the paper cut for you at a local copy or print shop. It is very affordable and fast, and removes a pretty big tedious task from your agenda.
My paper cutter is made by Carl and I love it! It was on the more expensive side, but if you do a lot of paper crafts on a regular basis then it is well worth the money.
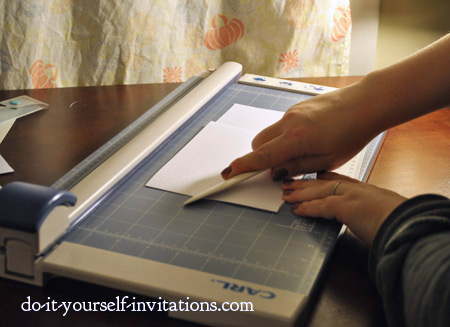
Cut the paper to 5" by 17" rectangles. Lay your paper across a grid (or use your ruler to make light pencil marks on either edge of the paper) and measure 7" from the bottom. Score the paper at the 7" mark. Measure 7 1/8" from this score mark and create another score.
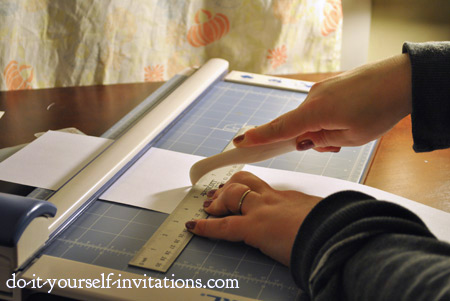
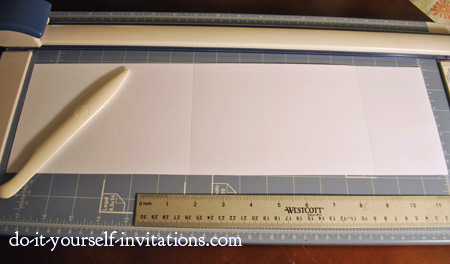
After scoring the paper fold it over the score marks and then smooth over the crease with the bone folder. I find the best and most affordable/easy way to score paper is to use a bone folder and ruler. A bone folder is generally around $7.00 and is a life saver when it comes to projects like this. If you do not have a bone folder there are several scoring products on the market such as scoring mats and even scoring attachments to fit on a paper cutter.
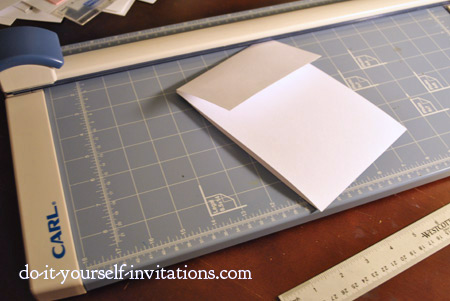
2. Attaching decorative black and white paper. You should have chosen two different black and white patterned papers for this project. I chose some 12 by 12 scrapbooking paper. By the sheet this kind of paper can get expensive, but if you wait until there is a sale your can get as much as 75% off. And ALWAYs search for printable coupons online!
Each paper will need to be cut to size to attach to your pocket invite. Measure the top flap and bottom flap to calculate your measurements. It should be 7" by 5", and 2 7/8" by 5".
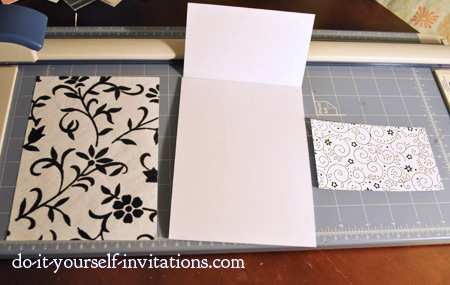
Apply some adhesive to the backs of these papers and attach them to the outer facing sides of the folded cardstock invite.
3. Adding Your Personal Details. Here is where you will add your wedding invitation wording to the inside of the invitations. BUT, I want to start with a word on affordability. If you are on a reeeaaally tight budget, here is where you can cut a lil' bit of the invitation budget. Print straight onto the cardstock from the beginning. You will most likely have to cut the paper first, and it will be slightly tricky figuring out the page layout, but it is do-able and cuts costs on paper and glue!
OK, that being said, I went all out with the added expenses, of course. I chose to use a handmade black paper to add as a detailed backing layer to where I would attach my printed wording, as well as to create a pocket for the outer flap of the invite. You could also use a simple black cardstock. There are even textured carstock papers that would create a nice touch as well. Cut two different sized pieces. One piece will be 5" by 7", and the other (for the pocket - is completely optional) will be 5" by 4".
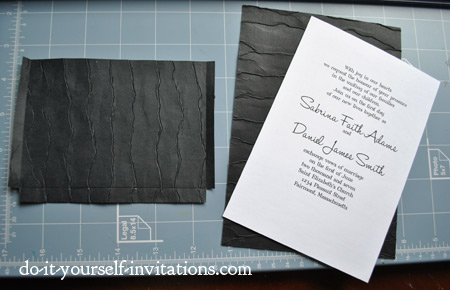
Print your wording onto some 8 1/2" by 11" white cardstock and cut it to 4.5" by 6.5" pieces. I have printable wedding invitations wording templates for use with cutting guidelines to help cut 5 by 7 invitations. If you choose to use them you will need to trim them 1/4" on each side to achieve the correct sizing.
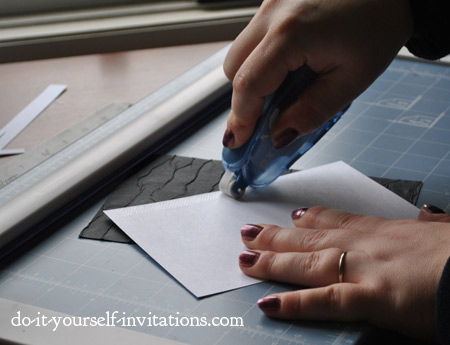
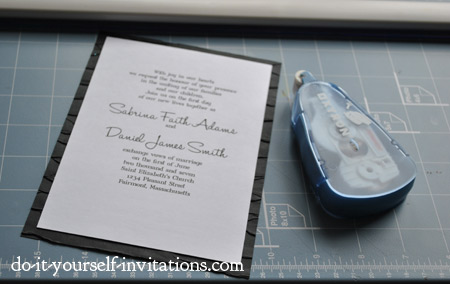
Using a glue runner apply some adhesive to the back of the white cardstock wording pieces and attach them to the 5 by 7 black cardstock pieces. Apply some more adhesive to the back of the black cardstock and mount it to the inner part of the folded invitation.
4. Adding An Inner Pocket (Optional). To create the pocket for the inner lower flap of these invitations I started by scoring a crease 1/8" from the edge of the top, left and right edges of the 5 by 4" piece of black paper. After scoring fold all edges inward and then fold back out again. Using a craft knife or some scissors remove the bottom corners by cutting on the lines where the scores overlap.
Fold the edges back inward. Using a large circular paper punch (mine is a 1 1/4" punch) line it up centered at the top of the pocket and punch half a hole into the paper. This is not completely necessary but I think it gives it a nice finished look.
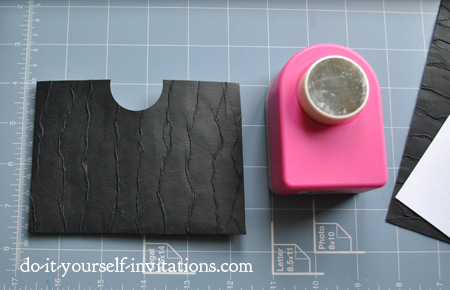
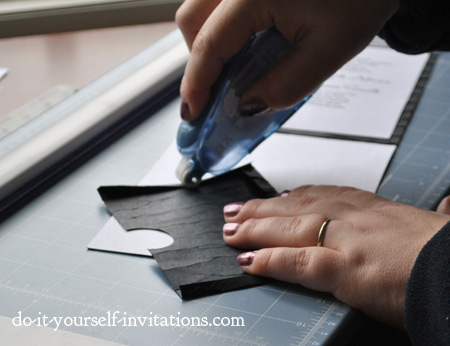
Apply some glue runner adhesive to the folded flaps and attach it to the bottom flap. Use this pocket to hold all of your enclosure cards such as an r.s.v.p., or invitation map.
5. The Finishing Touches - Adding A Bow. To finish with these black and white wedding invitations all you must do is tie a bow around the front of the invite, holding them shut. This can become a bit more tricky than you might think. Tieing the perfect bow can be tough! Here's my little trick. I dab just the ever so slightest bit of glue runner adhesive to the middle point of the card where I want the bow to lay. That way, when you make your knot it is like an invisible finger holding it put for you. Tie the bow and adjust it as much as you like. When it looks perfect use some scissors to trim the ends evenly and at an angle, and you're done!
Do It Yourself Invitations Homepage > Make Your Own Wedding Invitations > Black and White Wedding Invitations
Printables and templates
You May Also Like
The DIYI Ezine
Printable Invitations | Bridal Shower | Blog | Contact | Advertising Policy | Privacy Policy
By Chris Fleckenstein, Copyright © 2006-2013 Do-it-yourself-invitations.com
