|
|
||
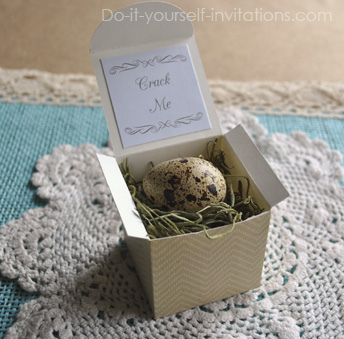
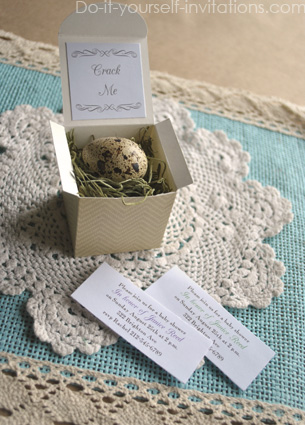
Unique Baby Shower Egg InvitationsI created these invitations using some store bought eggs that I hollowed out by hand blowing. I know - it sounds complicated. But it's actually really easy to do and only takes a couple minutes per egg. You can make these out of just about any sort of egg. I used tiny store bought quail eggs to give them a sort of rustic, cottage chic feel. My second choice of egg was a blue Americana egg. You can buy these at specialty stores like Whole Foods. They are a bit bigger than the quails eggs so you can fit a bigger piece of paper inside, in turn making more room for text. A good choice if you have a lot of wording you want to convey on your egg invitations and/or announcements.
Make Your Own Fancy Egg InvitationsWhat you'll need:
I've created this nifty egg invitations box template for you to use to make your own little 2 inch square boxes to hold your eggs. I've created a printable template that you can print onto some thick cardstock and simply cut by hand with a paper trimmer or scissors. I've also included a file for those of you who might use the Silhouette Die Cutting machine. Or use this handy Jpeg file with your design software and die cutter.
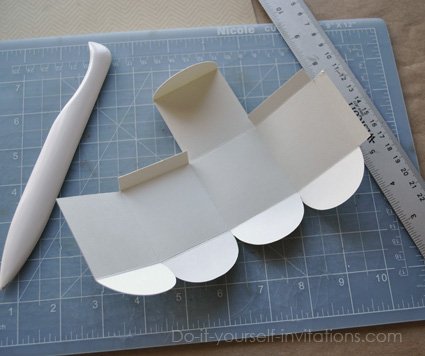
The template is pretty straight forward. You'll want to cut on the solid black lines, and fold on the dotted lines. I used a bone folder and ruler, along with my cutting mat to scorer the box in the right places before folding all of the flaps and sides. Glue across the tab on the side of the box, and fold the bottom up inside to hold it shut. I actually added a little glue to the bottom flaps as well to ensure my box stays shut tight and sturdy.
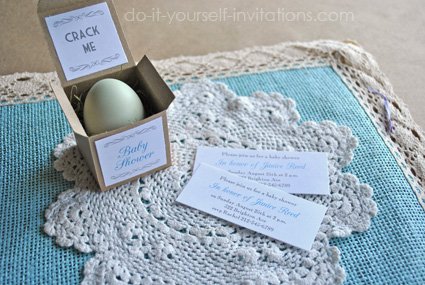
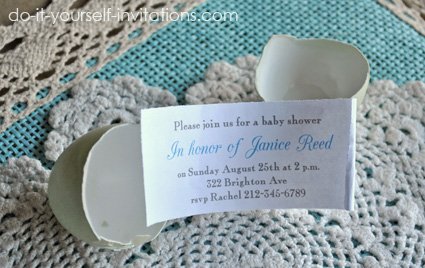
Next you can use our template to type in and format the wording for inside of the egg, and for the labels for the inside and outside of the box. To use the templates simply place your typing cursor into the middle of the label you would like to add wording to and start typing. To change the fonts, sizes, and text color, highlight the text and press the Control key and the letter "E" at the same time. This will bring up a typing tool window. Print the labels onto some plain white paper and use a paper trimmer to cut them out. Use a glue runner or permanent adhesive to attach the labels to the box.
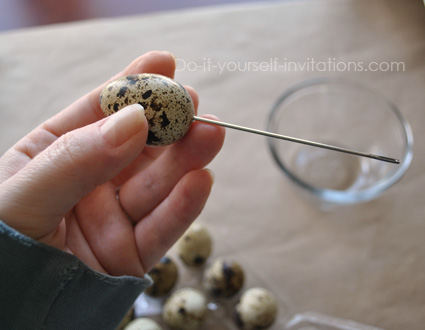
Hold the egg over a small bowl and lightly blow into one of the holes. The yolk will start to pour out of the tiny hole. Continue blowing until all of the contents have poured out. It only takes a minute or two to completely hollow the egg.
Print and trim the wording for the inside of the egg. gently roll the paper into a tiny scroll and insert the paper into one end of the completely dried and hollowed egg. You may need to make the hole slightly larger on one end. Don't worry - it's really not very noticeable! Insert the egg into the box on top of the nesting materials and close the box. You can top it all off with a pretty bow or some raffia tied around the box. If you plan on shipping these I recommend placing them into another slightly larger box, wrap with packing materials and then into a shipping box. Make sure the post master knows to place labels alerting their are fragile contents inside.
Egg Baby Announcements/Gender Reveal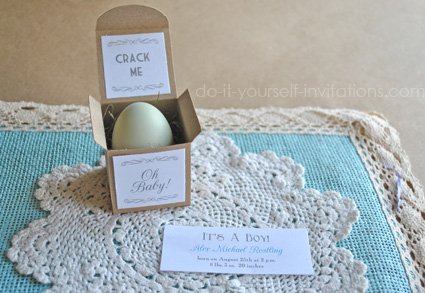
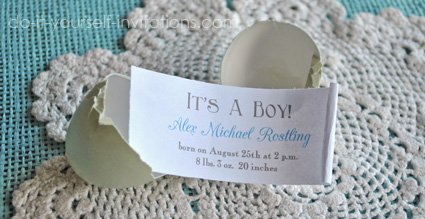
|
|
||
|
|
|||
|
| Homepage | Shop | Wedding Invitations | Birthday Invitations | Baby Shower Invitations | Printable Invitations | Bridal Shower | Blog | Contact | Advertising Policy | Privacy Policy
By Chris Fleckenstein, Copyright © 2006-2013 Do-it-yourself-invitations.com |
|||
 And you could also use regular chicken eggs as well. You could make them a little bit more fancy by dying your eggs, or hand decoupage them. You could even use some rub ons to add a little bit of a decorative touch to the eggs, and hollow them out afterwards.
