|
|
||
|
Make a Baby Shower Thank You Card
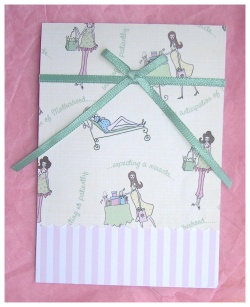
The baby shower thank you card is inevitable. I know that writing out the thank you notes is really one of the last things you want to do at this time. I mean, not out of disrespect to your guests, but at this stage of your pregnancy your back hurts, your uncomfortable, and you got a ton of other stuff on your mind. But you gotta do it. And your guests deserve it! Show em' how much you really appreciate it by making a super cute baby shower thank you card.
Step One: Choose a card stock. The easiest option would be plain white 65 lb. or thicker 8 1/2 by 11" card stock. You could also use a light pink or blue but do not go too dark or your guests will not be able to read the thank you message you write to them. Step Two: Cut the card stock in half. I recommend using a good personal paper cutter to cut them. If you want to make it easier on yourself you could also have the card stock cut at a local print or copy shop to have it cut for you. Quick and inexpensive! Step Three: Fold the card stock in half to form cards. Step Four: Choose a decorative paper or use wrapping paper. You will want to also cut this paper to be the same dimensions as the front of your cards. Use a glue runner or glue stick to attach the decorative paper to the front of the cards. Step Five: Attach ribbon. Cut a length of ribbon just slightly longer than the width of the baby shower thank you card. Use either craft glue or a glue runner to attach the ribbon across the front of the card. Now cut a separate piece and tie a small bow using the same ribbon. Glue this bow to the front of the card using craft glue or permanent glue runner. Snip off the extra ends of the bow so that the ribbon hanging down is even on both sides.
To go a little more elaborate...
|
The DIYI Ezine
Stay up to date with the newest tutorials, free printables and giveaways!
|
||
|
|
|||
|
| Homepage | Shop | Wedding Invitations | Birthday Invitations | Baby Shower Invitations | Printable Invitations | Bridal Shower | Blog | Contact | Advertising Policy | Privacy Policy
By Chris Fleckenstein, Copyright © 2006-2013 Do-it-yourself-invitations.com |
|||
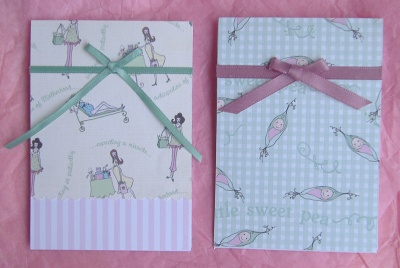
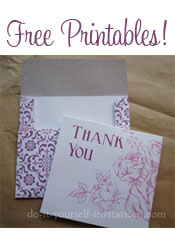
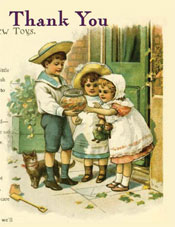
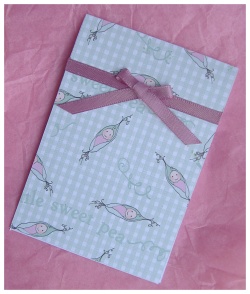 The designs I came up with are really easy. You do not even have to worry about printing onto them. Just handwrite a cute note on the inside and they are done! The basic premise here is to just attach a cute